Showing posts with label My Office. Show all posts

Wednesday, January 16, 2008

Digging Out

Okay, I'm ready!

Time to dig myself out of my scrapping slump, get organized again and start CREATING!!

Time me...

I've just snapped the BEFORE photos (don't know if I'll have the courage to actually post them!)

oh, okay, I will...

Photobucket

I've got the music cranked

I've got the dinner cooking and almost ready to serve.

I'm just about ready to sequester myself for a good old cleaning session!

...stay posted

~and soon - cross your fingers - I'll finally have some new work to post :)
____________________

Update:

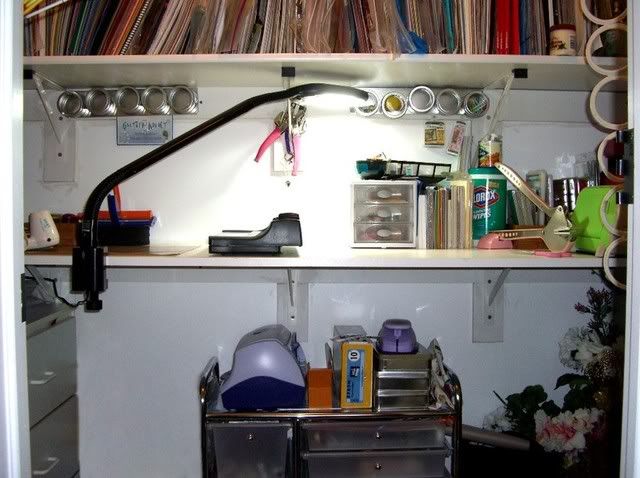
Although I have not finished the WHOLE room, I did do the hard part - cleaning up the closet :)

Photobucket

It's hard to snap a photo of the whole thing, but it IS straightened up and the countertop is once again available for cutting paper, doing diecuts and working on projects that are require tools, heat or paint.
______________________

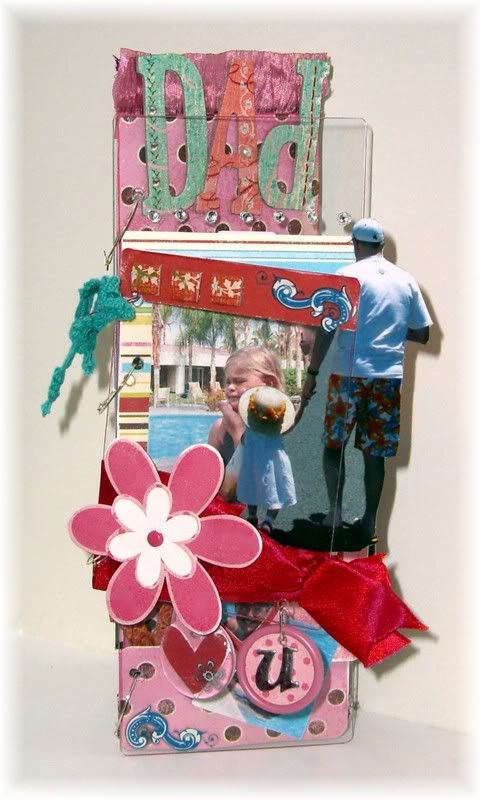
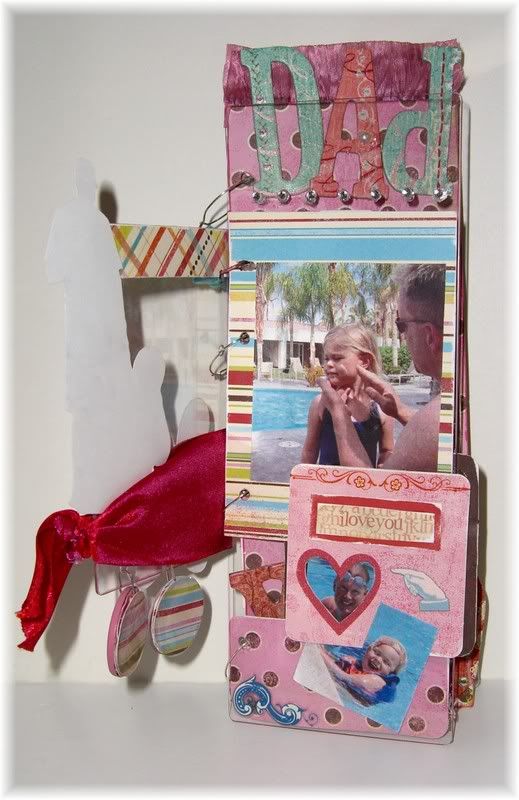
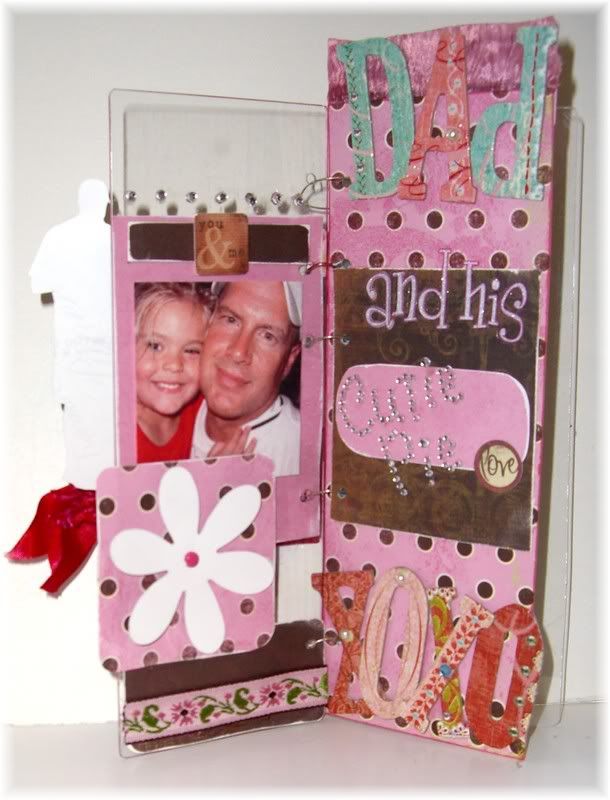
Oh, and since you were all so patient - I'll post more of an idea I've been working on for a bit ... a mini clear album:

The cover
Photobucket

Inside pages
Photobucket

Photobucket

Saturday, July 07, 2007

SNAKE!

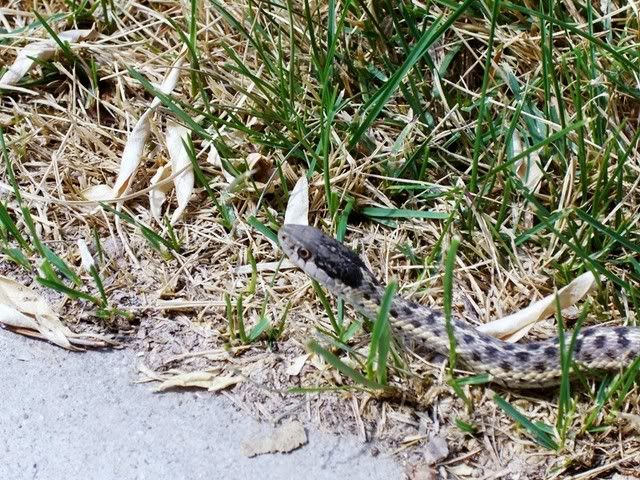
Just take a look at this little guy! Boy did he give my heart a start yesterday when I opened my car door and almost stepped right on him.

Photo Sharing and Video Hosting at Photobucket

After the initial surprise, and Lexy's immediate question of whether it was a Rattlesnake or not, well, we recovered and got to watch him flick out his tongue in an attempt to figure out what in the world these strange creatures were doing just staring at him! All too soon, he decided it was time to take his leave and depart.

More great news today!

I've got more views of how the studio is coming along:

Photo Sharing and Video Hosting at Photobucket

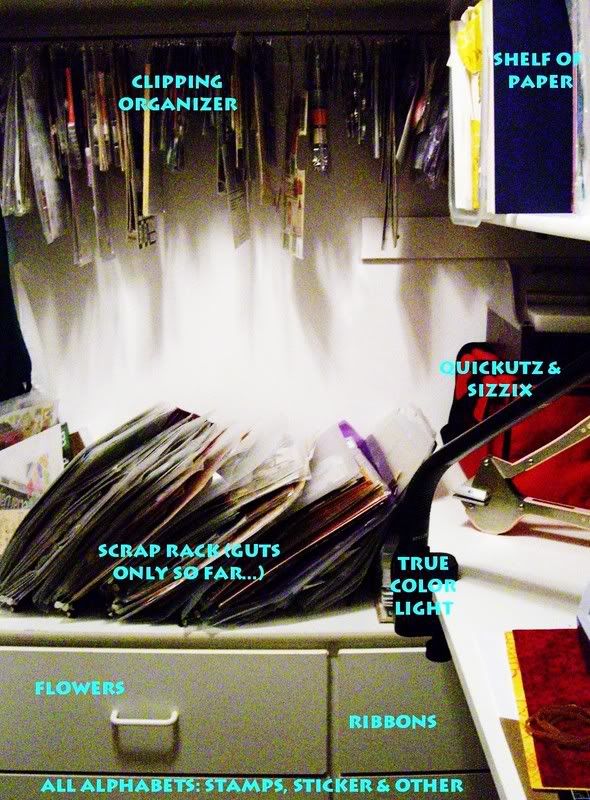
First, a not-so-good photo of the south wall in the closet. I'm still opening box after box and NOT finding the frame to my scraprack! Until then, I just have the 'guts' (the three ring velcro binders) sitting on top of the dresser. I have to say that I am so EXCITED to see that dresser in there finally! It's got all my alphabets, flowers, ribbons and rubons in it.

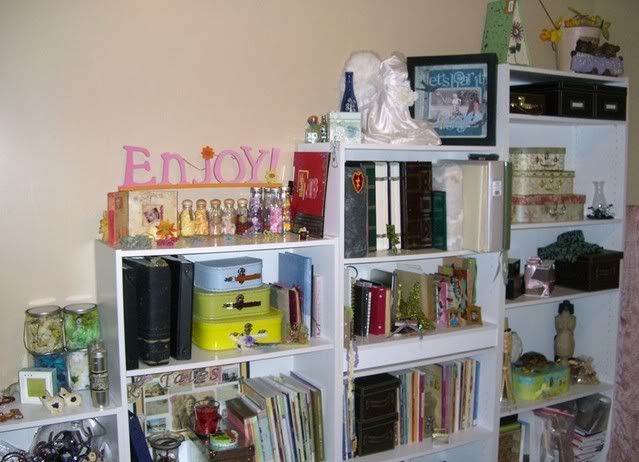
Now a photo of my Bookshelf wall - it's still in progress -eek, but I could not resist...

Photo Sharing and Video Hosting at Photobucket

I'm still unpacking craft books, supplies and little collections - oh how I love my little bits. I don't quite know what to call them, but they are my little things I've collected that were just too cute, or novel, or really really cool! Little things like glass dangly things, super mini chairs that are photo holders, silly cows and pigs, wire angels and such. I love being able to have them out and in site once again!

Anyway... back to the shelves themselves...

Theoretically I am to house all my craft books here - ha! I don't think I'll make that happen, too many books. Hmm, you would think I was a librarian or something ;)

I just love all my mini suitcases! Inside there are lots of oft-used supplies ie: The Bling box, Eyelets(the smallest one), Brads, Dymo labeler, 7Gypsies Wax Seals, Office Supply and more. I've had to move my Chipboard and Soldering supplies into life-sized suitcases that are stacked on the floor next to my angel's feet. Good thing I saved my mother's old luggage!

I do have 2 shelves reserved for vacation-themed memorabilia. I just have to make my Hula girl doll to finish off the Hawaii shelf and the other shelf already has my Oregon altered minibook along with framed photos on it.

Now I just have to figure out what in the world will work for the storage of my photos! Ack! Double Ack Ack!! I'm into them so often, I'm adding to and taking out so much. A file cabinet would be heaven-sent, but I don't want (and more importantly don't have room) for one in my room. Got to get the brain working on this puzzle, and soon!

Friday, June 29, 2007

More Studio Views

Oh, it feels SO GOOD! I finally finished building my Stamp Shelf Organizer in my Studio Closet and I got more boxes emptied and put away. Ah, relief!

Photo Sharing and Video Hosting at Photobucket

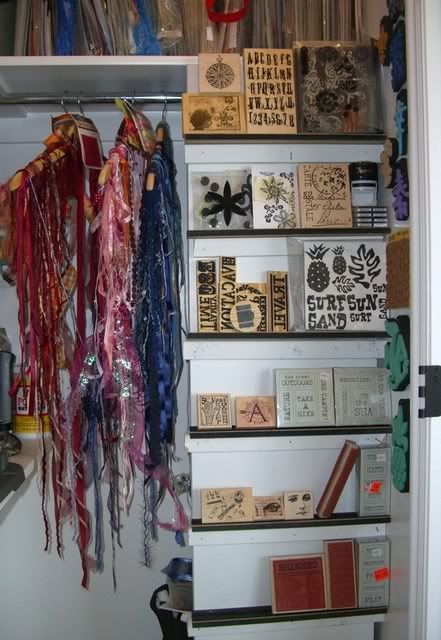
Here is the 'wall' I made, inside it there are 3 shelves, 12" apart, 15" deep, 15" wide, that hold all my stamp sets. Oh, Okay, so I exaggerated - those three shelves do NOT hold ALL my stamp sets, I did sell Stampin' Up for what, 3, maybe 4 years! But I haven't come across those boxes in my unpacking yet, so out of site, out of mind (and I'll just think of alternatives when I DO find them!). On the other hand, my Stamp-n-Store bag fits nicely underneath on the floor.

What you see facing you are 6 'single stamp' mini shelves that I was cursing as I made them! It was a great idea, but I got some kind of plastic-like board for the support and it kept splitting - even with little tiny finish nails. I WILL be altering them, make them look all cool and artsy, but also covering up all those bent nails and hammer marks!

Photo Sharing and Video Hosting at Photobucket

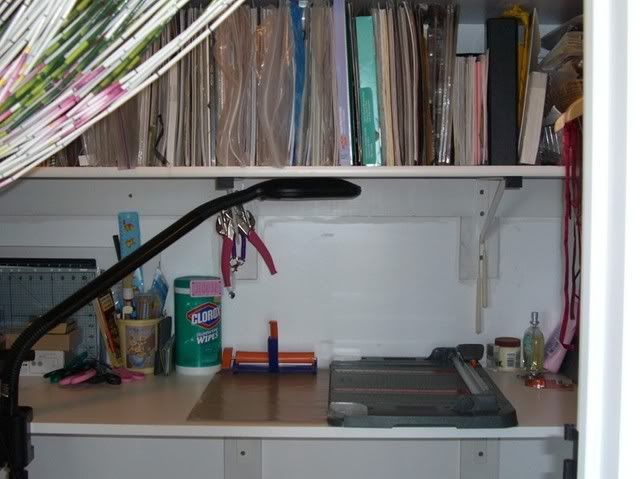
This is the 'Work Counter' I made in the closet. It's a 24" wide Melamine board that I had Home Depot 'rip' (cut longwise) to 20" wide. It is supported by 3 heavy duty angle brackets. This is where I do all my cutting, pounding and die-cutting. All the messy stuff. I think I need a little stool in here to complete things.

Looking above the work counter you will see my alphabetized-by-manufacturer, but as yet, still messy Paper Stash! This 15" deep shelf (and 15" tall) is also supported by 3 heavy duty angle shelf brackets.

Photo Sharing and Video Hosting at Photobucket

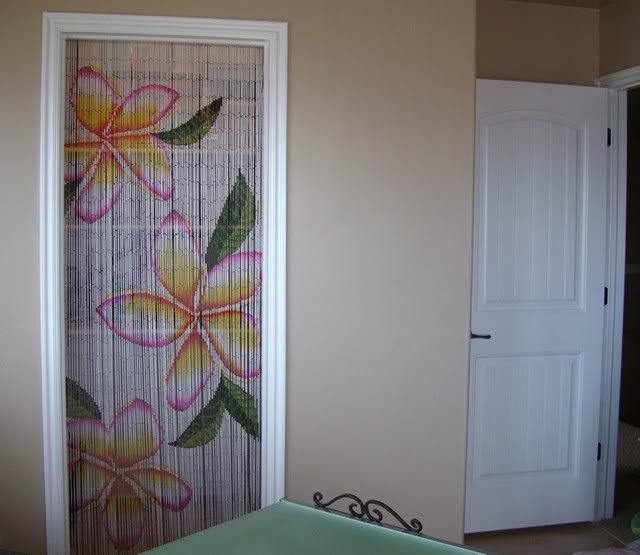
Now, look at this! This is what the closet looks like from the OUTSIDE! Ain't it great!? NO MESS! DH probably wasn't terribly happy about my removing the closet door, but oh, I LOVE it! When I get tired of going in and out of the bamboo curtain, I just pull it back with some ties. So far the cats and Lexy love it almost more than I do.

...Coming Soon, the South wall! I've got to move a small dresser up and into the closet - soon though, very soon.

Wednesday, June 20, 2007

My own version of a clipping organizer

Hi everyone!

As part of my organizing I've come across a super easy way to make a do-it-yourself version of this!

I could not get a photo of the whole thing, sorry. But it's so easy! I've placed it in a 4 ft. section in a walk-in closet, 2" below the shelf and 5" out from the wall.
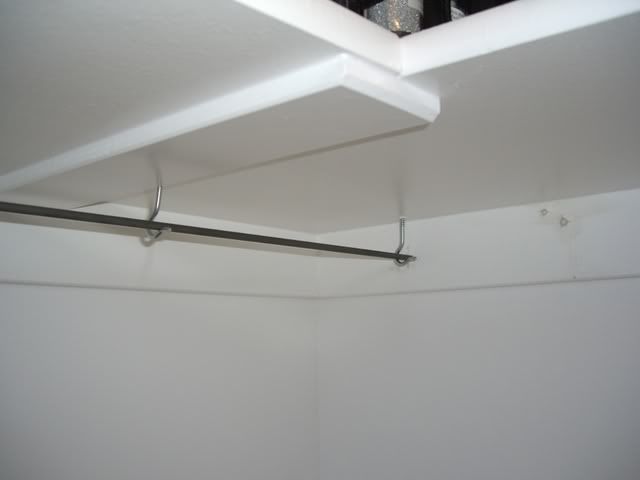
Photo Sharing and Video Hosting at Photobucket

Supplies:

1/4 metal rod / found a 48" one at Home Depot for under $4.00
Metal Hooks, like super-duty cup hooks / at Home Depot at .99 per bag of 2
Badge Hangers / found at Michaels for under 3.00 per bag of 21 (bead aisle)

Tools:

Measuring Tape & pencil to mark it
Screwdriver to remove clothes rod if you're doing this in a closet with one.
Drill with a 3/32 drill bit (the bit just has to be smaller than your hooks)
Pliers
Rag to clean that rod, oh man, it's got something on it, don't get it next to your clothes when you buy it!

Instructions:

1- Remove the clothes rod from the closet (you can see where I've removed mine, but not painted yet.)

1- Measure your spot. Cut metal rod to fit. If you look really helpless and are super nice to the guys at Home Depot they will take pity on you and they might just cut it for you ;)

2- I pre-drilled the holes before screwing in the hooks, and they still needed a lot of muscle. This is the toughest part, so take heart, when it's done you will be almost there! Oh, and I kind of alternated the final direction of the hooks to add to the rod's stability.

3- Use some big pliers and squeeze the hooks until they hold the rod firmly. This is so you don't lose the rod at a most unopportune (or is it inopportune?) moment - like when it's full.
I would have got eye hooks instead of cup-like hooks if I could have figured out how to put the rod in afterwards.

4- Open those badge hooks from Michaels and start putting them on! I used the pliers again here as I don't care about taking the hooks off again but know I don't want them falling all the time. Just don't squeeze them closed so tight that they don't move along the rod easily.

See - easy, easy!
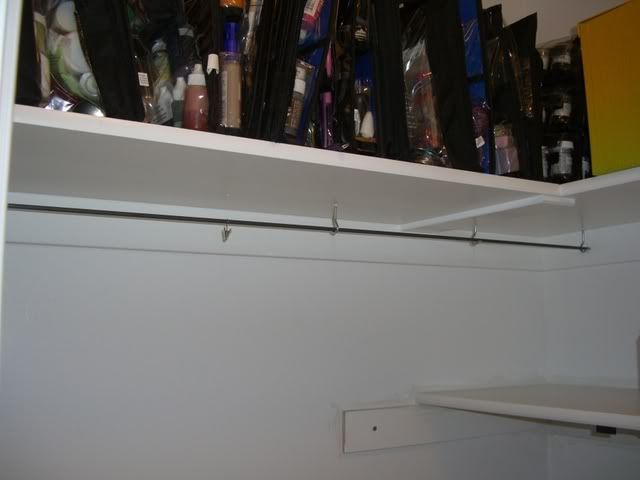
Photo Sharing and Video Hosting at Photobucket

Hey, you see the black organizers up there? Those are what I use to store everything I need for each technique. One bag per technique. It's so easy to just grab what I need when I need it, I even keep the how-to instructions in them. I love this system!

Watch soon I'll be posting photos of the filled up clipping organizer soon, along with photos of the finished supply closet (When I get it done anyway!)

Just ask me if you've got questions!
Saturday, May 12, 2007

Landscape House and all that...

The countdown is still on! My house is reaching some final stages, I'm frantically trying to pay off the refrigerator, washer and dryer that I had to get and gather all those final documents for the mortgage lender!

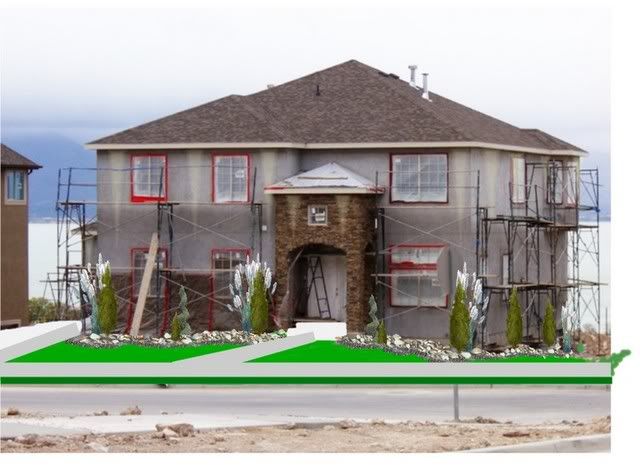
Oh, and I need to finish up those landscape ideas! Here is a digital draft of the landscape.

Photo Sharing and Video Hosting at Photobucket

I'm trying to create a Mediterranean feel, but it's a fine line between formal and Tuscan. Too many cultered flowers and I get that posh formal look. I have to say that with the mildly pitched roofline - this house needs those marching, lined up Cypress trees. Oh, and with my ground on a bed of limestone rock, exposed to the wind - yep, I need to go with that Tuscan look. Those types of hardy Mediterranean plants will do well in my yard.
_____________________

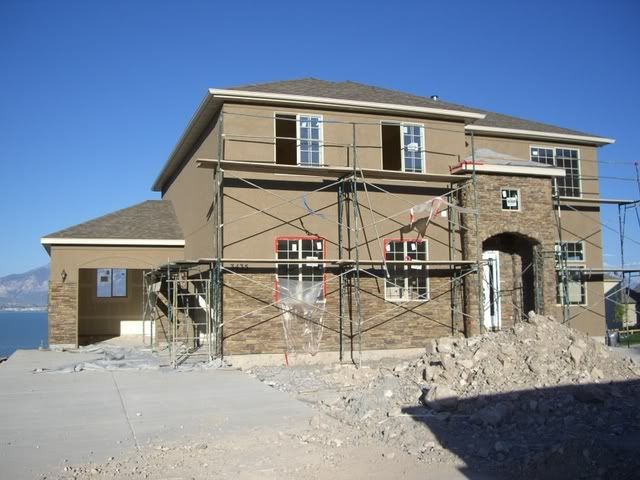
I've got color! They need to move the huge dumpster in front of the house for me to get a good photo, but at least you can see the stucco color now.

Photo Sharing and Video Hosting at Photobucket

____________________

My room! My Studio! What a surprise when I looked yesterday and found that they were putting in the wood flooring! I'm getting excited now.
Photo Sharing and Video Hosting at Photobucket
____________________

Thanks for looking and sharing in my boring for you probably, but exciting for me schtuff on getting our house.

Thursday, April 19, 2007

Estimated Date of Completion!

We have an estimated date of completion!!!!!!!!!!

Our house, which has been under construction forever, has an estimated completion date!

May 28!

Of course, the mortgage company says that I should add a few weeks to that date. Same from the real estate agent. But still, we are closer to the end!

Here's a photo from today:
Photo Sharing and Video Hosting at Photobucket

I think my favorite thing is going to be the view. I better like it, I'll be driving around to the other side of the lake every day I work. See, way over in the distance, that city, that's Orem, where I work fulltime. Not that I live much closer right now! Of course, if they ever build a bridge my drive will go from 45 minutes to 1o. Not that it will happen in my lifetime ;)

I met also got to meet with my landscaper today. Saratoga Springs requires all front yards be fully landscaped prior to closing. They even have a minimum requirement on how many trees and shrubs. That's okay, it's needed. There is so much construction (I heard Utah County is in the top 10 nationally at 25.9% growth) so this will cut down on the dust a LOT.

I do want to have some control over my sprinkler system set-up and where those trees and bushes go though.

The landscaper said that I could draw out a plan and he would work with me on it - so, guess where my mind will be over the next few weeks! I LOVE setting up landscape ideas. It's the weeding afterward and and upkeep that kills my enthusiasm. But, if I do it right this time, maybe I can eliminate a lot of headache by planting smart :)

p.s. See that bay window there on the top floor? That's my future craft room!!!