Hope not ;) 'cause I'm baaaaack!
First, you gotta see this - Lex on the phone to daddy in Iraq - isn't this adorable?!!

I've been busy busy busy! You would think that being off work I would be LESS busy, but no. I have no idea how I fit work into my schedule before, honestly. Or, I wonder if I just find ways to fill my time no matter what I do or how busy I am.
My mother has taken to calling me 'Molly Homemaker' If I don't show up on Tuesdays to do some sort of homemaking project at her house she makes my dad call me to see where I am and to make sure that I know they are home (they do travel a lot and are not home EVERY Tuesday). Anyway...
So a few of the projects that I've schlepped over to my mother's house (where I can get help as I need it)are:
Canning:

Peach jam & syrup, Cherry jelly & syrup, Chili sauce, and Tomato sauce. I still need to do the Jalapeno Jelly :0 (Many many days of canning!)
(NOTE: We created the Chili Sauce recipe, and a super incredible Tomato Soup recipe - I'll post them if you want - oh, don't be misled by the name 'Chili' - it's got no hot peppers in it at all, just spices and bell peppers)
Sewing:
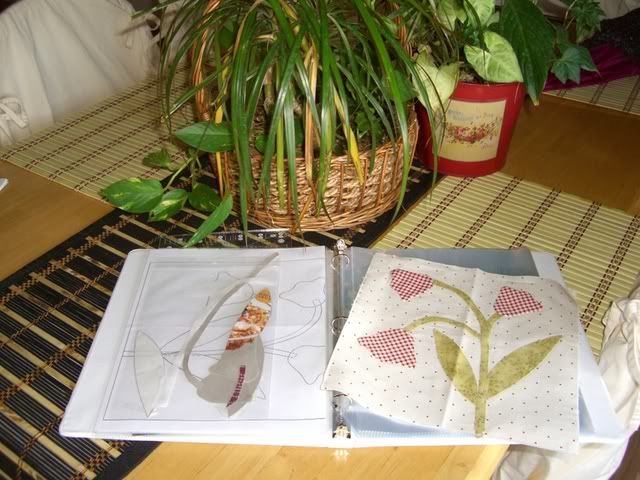
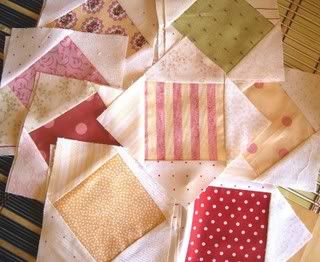
Olivia Quilt,

Serendipity Quilt,

Civil War Quilt squares of the month,


and the last of my Summer Quilt. Oh, and I did manage some general mending in there too.
On the other days I've scrapped - Christmas stuff, so I can't show it, you'll just have to take my word on it. Okay, so I do have this altered bottle - got to love this recycling stuff, particularly when the economy has been the way it has lately!

I am still being very careful about my back. I can't sit for too long, or stand or walk for extended periods of time. I get exhausted easily too. But I am crossing my fingers, hoping that I can return to work at the end of November. I don't have a dr.'s clearance for that yet, but if I go asking, return to work papers in hand, I just might get the okay. Limits in place I'm sure, but at least an okay.
Anyway, lots to pack in in one blog, but I'll work at doing it better :)