Today's inspiration came from Christopher McAfee's
Naked Book of the Apocalypse
There are over 80 photos that I took of the whole process.
You don't get them all today.
Today you only get the French Sewing on the signatures.
Watch for upcoming posts:
~Decorating the Cover
(we used MODELING PASTE and ACRYLICS WASHES!!)
~Rounding the Text Block
~Putting the Cover on the Text Block
... plus a few little how-to's
~Locking a needle onto your thread
~Gluing 'out'
p.s. click on the pictures to see them large, click again to get them really up close.
Supplies
PVA GlueBone Folder (or teflon folder)
Paper Piercer
Pencil
Cutting Blade
Brush
Straight Edge ruler, preferrably metal edged
Wax Paper
Waste Paper (so you don't get glue everywhere)
Paper for signatures
Protective mat so you don't ruin your table
Beeswax
Needle and Thread
Fold 4 pieces of paper at a time. This is a signature. First with your fingers, then with the bone folder. Mark all the top corners of each signature with an x.
Use a Sewing Template (EVEN number of holes), set it INSIDE the folded signature and pierce holes in each signature.
Hold piercer at a 45 degree angle to pierce
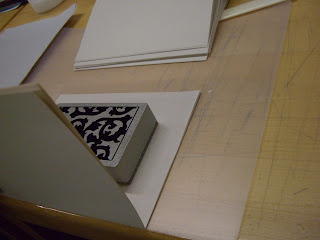
Stack the signatures
Now flip all the signatures, except one, over to the top of desk. Place weight inside first signature. Take waxed thread (lock the thread on the needle) and starting on the outside pull thread to inside, leaving about a 4 inch tail.
Sew in and out up through all 6 holes in the signature. Pull thread taught but not tight. Tighten by pulling threads straight out the top and bottom of the 'book' so you don't rip your papers. Bone fold over the thread, you want to mold the paper over the thread that is inside the signature.
Place signature 2 on top of first signature. Place weight inside to hold in place. Now go back down the spine.
Tie a square knot with that beginning tail when you get to it.
Pick up the TOP edge of the far side of the linking stitch to get that herring bone look of the French stitch.
Kettle stitch as shown to link the ends of the signatures
Don't forget to rub the bone folder over the signature, it cuts down on the bulk and molds that paper over the threads
Set the next signature on the block, place the weight and continue stitching.
 Remember, taught but not tight. Oh, and make sure you haven't left any loose loops inside your signatures.
Kettle stitch again
TWO kettle stitches to finish it off. Cut thread, leaving another 1 inch tail, trim the first tail to about 1 inch as well.
Watch Tomorrow for Rounding the Spine


No comments:
Post a Comment