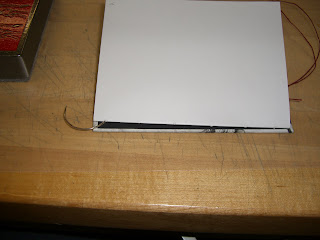
The Finished Product:
Prepare your space:
Stack book covers and text block, spine away from you, in the order they will be sewn.
Top cover on the top. (I had to use my glue bottle to keep it from sliding out).
Signatures (11) all lined up and arranged so that the punched spine holes line up together.
Top right corners all lightly marked in pencil.
Beads, 1" worth, on a strip of masking tape ready for you to put on your middle signature.
Bonefolder
3 1/2' of waxed linen thread - cut in half.
Curved needle
- Take the top signature and the front cover. Place them upside down on the edge of the table. Spine towards you.
 - From the center of the signature, bring thread out the left hole. Leave a 3-4" tail inside the signature.
- Flip cover and signature over so that the cover is on top and your thread is now on your right.
- Bring thread out on the right side.
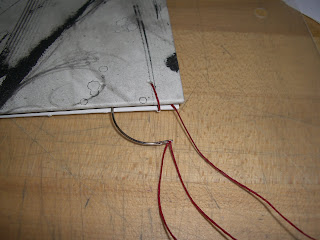
- Insert needle back between cover and signature and then up through the cover to the outside.
- Pull thread up and out of the cover leaving a loop out on the spine.
Hold the loop, tug it towards you firmly, make sure your threads look straight and neat on the inside of your cover.
- Bring thread down through the loop and pull firmly straight down, tightening the loop.
*Do not pull too hard, it will rip out your signature! (you get three guesses on how I found that one out and two don't count)
- Now go back into the signature, in the SAME hole.
- Move up one hole and come back out to the spine - repeat the inbetween/out and around/up and out with a loop/down through the loop, tighten/back in the same hole.
For this book we then did a French stitch (a long stitch) in the center. These stitches are not connected to the cover. Just take a long outside stitch.
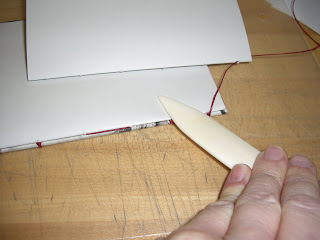
-Once you have gone the length of the book, press with the bonefolder over all the stitched places. This forms the paper around the thread and reduces bulk.
- On the last hole do not go back into the first signature, instead pick up your next signature and go into it. See above illustration
- Place your sewing weight on top of the signatures, but leave your cover up.
- Align your signature papers so they are square.
- In the middle, at this second french (long) stitch you will 'pick up' the bottom long stitch. Just go under it and back into the next hole. You are just connecting the long stitches it creates a herringbone-like pattern.
-At the end of your second signature you will now start linking signatures together with kettle stitches (a tear-drop-like loop that goes down 2 signatures in the right and out the left, then back up and into your same hole)
-Flip over the whole book and keep repeating until you get to your middle signature. ie: If you have 11 signatures, it will be on signature 6 that you do not pick up the long stitch in the center, but instead add about 1" of beads. This beaded stitch will NOT be linked to the lower or the upper long stitches.
* Tip: unthread your needle, roll the flattened waxed thread into a point and thread it into the beads. Re-flatten and re-thread your needle and away you go.
- Repeat until the last signature. On this signature you will repeat the cover-adding stitches, the same way you added the first cover. Tie in the ends with a double then a single kettle stitch.
I need to do a few more books, take a whole lotta photos and add to this - this is not easy! Do try youtube searching for videos, that combined with what I've got should get you started. Oh, and feel free to post questions in the comments ;)
Or, try learning a coptic binding another way... check out these videos I found on Youtube:


No comments:
Post a Comment